Cap Embroidery Digitizing Services for Shops and Hat Brands in California
Cap embroidery digitizing is where most files fall apart on the machine: the panel curves, density has to change across it, and small lettering has almost no room for error. We build cap files by hand for embroidery shops, decorators and hat brands across California and the rest of the USA, checked against a real stitch-out before it’s yours.
30 Google reviewsDigitizing since 2019Working with embroidery shops across California
What Is Cap Embroidery Digitizing?
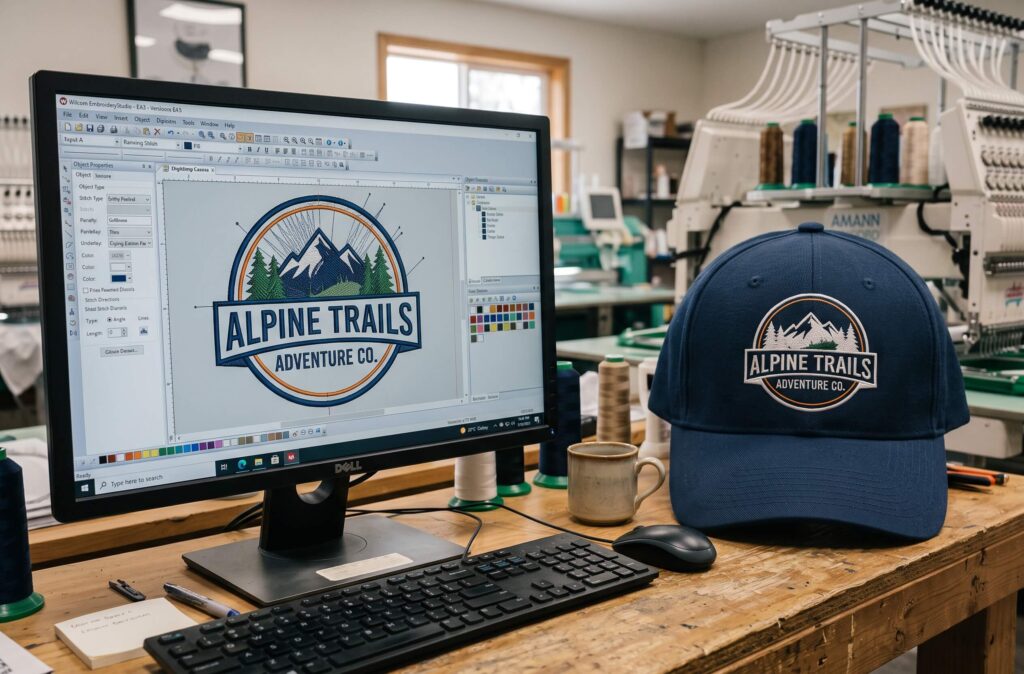
Cap embroidery digitizing turns a logo into a stitch file built specifically for a curved cap front panel, not a flat garment. A file already digitized for a t-shirt generally can’t be dropped onto a cap and sewn correctly: the front panel curves, sits on a narrower strip of usable space, and is usually backed by buckram or foam that behaves differently under the needle than soft cotton.
Planning sizes and placements? See our guide on how to prepare a logo for hat embroidery.
A digitizer working on a cap plans stitch direction, density and underlay around that curve before the file ever reaches a machine, then checks the result against a real stitch-out rather than a flat, on-screen simulation.
Why Cap Digitizing Is a Different Skill
Caps aren’t flat, and that changes almost every decision in the file. A design that looks correct on a flat digitizing screen can pucker, shift or distort once it’s sewn over a curved, semi-rigid surface.
Running a cheap or flat file on caps is one of the most common reasons sew-outs fail. See 7 problems a cheap digitizing file causes on your machine.
Crown Curve
Compresses the design differently at the center than at the side seams.
Structured Backing
Buckram or foam resists needle penetration more than soft knit fabric.
Limited Vertical Space
Roughly 2–2.25" of usable height forces different lettering choices.
Dedicated Cap Frames
Changes how stitch direction and sequencing have to be planned.
What Goes Into a Production-Ready Cap File
Stitch Direction
Follows the curve of the panel so the design lies flat instead of catching light unevenly.
Underlay
Stabilizes buckram or foam backing against a needle punching through a curved surface.
Pull Compensation
Widens shapes slightly so letters sew out the correct width, not squeezed thin.
Density
Set to hold up on firm backing without over-stitching or fighting the needle.
Push and Pull
Planned section by section since distortion is uneven across a curved panel.
Registration
Tighter tolerances than flat work, since misalignment reads more visibly on a curve.
Center-Out Stitching
Sequenced from the middle outward so the design stays balanced on the frame.
Needle Penetration & Thread Breaks
Planned around dense backing so the file runs clean instead of stalling mid-job.
Small Lettering
Text under about a quarter inch gets flagged before it has a chance to fill in.
Types of Caps and Cap Structures We Digitize For
Structured Caps
Buckram or foam backing gives a firm, stable stitching surface.
Unstructured Caps
Little internal stiffening, so underlay and density change to match.
Front Panels
The most curved, most visible part of the hat and where logos live.
Trucker Hats
Smaller, more curved panel with foam-backed or mesh construction.
Snapbacks
Flatter, taller panel that changes how stitch direction is planned.
Baseball Caps
The classic curved-panel cap that center-out stitching is built around.
Flex-Fit Caps
Stretch panel construction needs adjusted pull compensation and density.
Richardson-Style Caps
Structured panel plus foam mesh back, common in promo and streetwear.
Raised, dimensional logos that sew clean
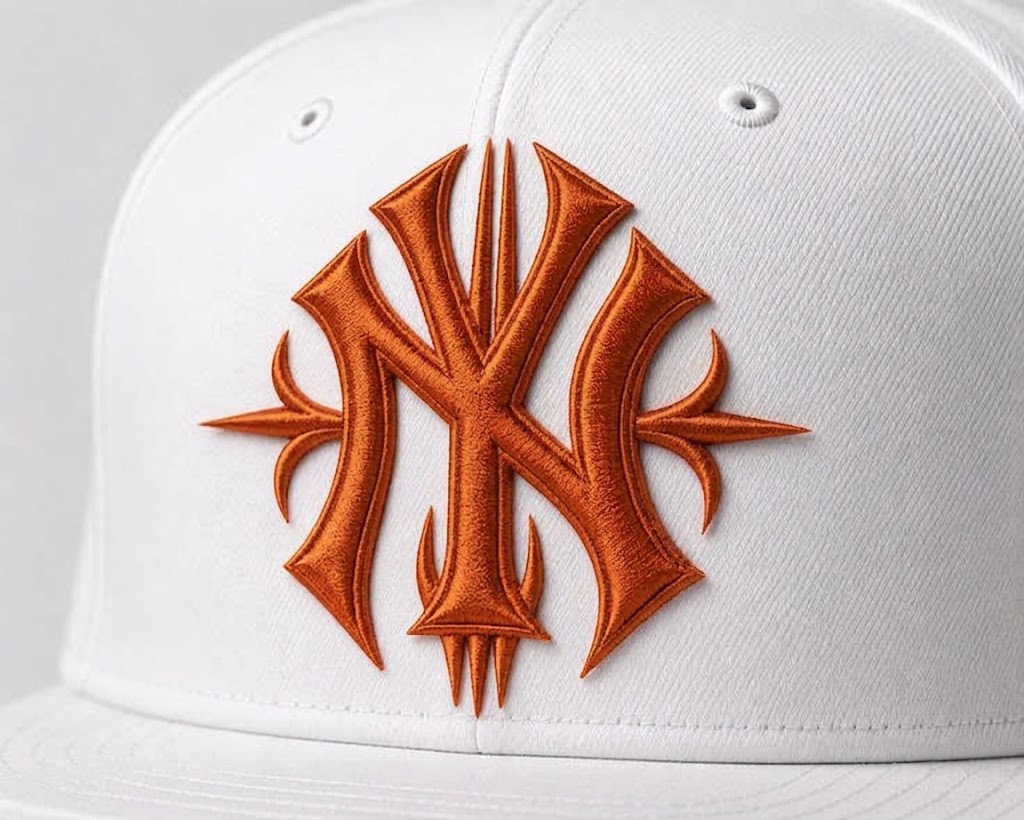
Puff files use a foam insert under the top stitching for a raised, dimensional logo. Underlay and density have to fully encase and compress the foam at the edges so it doesn’t show or fray. Not every design suits puff. We’ll flag it upfront if a logo needs simplifying first.
- Foam fully encased at the edges
- Bold shapes and lettering checked for puff
How Customers Submit Artwork
Four steps from your logo to a cap file that sews right.
Send your logo
Vector, PNG, JPG, or a clear photo of an existing hat. Tell us the placement and cap style.
We review size, placement and construction
Structured vs. unstructured, small text, 3D puff: we flag anything that needs adjusting first.
A digitizer builds the file by hand
No auto-trace. Stitch direction, underlay, density and sequencing set for the exact cap.
Proof, stitch-out check and delivery
You approve a digital proof; files are checked against a real stitch-out, then delivered within 24 hours.
Cap Digitizing Pricing
Simple flat pricing for cap logos. Your price is confirmed on your quote before work starts.
Turnaround & Revisions
Files are delivered digitally, so turnaround is the same whether you’re in Anaheim or anywhere else in the USA.
Cap Digitizing for California Embroidery Shops and Hat Brands
California has one of the country’s largest concentrations of embroidery shops, screen printers and headwear brands. Whether you’re running caps for a streetwear label, a sports team, or a walk-in embroidery shop, the same rule applies everywhere in the state: a cap file has to be built for the curve, or it doesn’t sew clean.
We work with shops and decorators throughout California, and files are delivered digitally, so there’s no shipping delay either way.
Where we work
Shops, decorators and hat brands across the state, plus the rest of the USA.
Why Choose XcellentPlus for Cap Digitizing
Hand-Digitized
Built stitch by stitch, not auto-traced and cleaned up after.
Checked on a Real Stitch-Out
Not just simulated on screen, verified against how it actually sews.
Free Revisions
If something doesn't sew right, we fix it at no extra cost.
Cap Digitizing FAQs
Quick answers for embroidery shops, decorators and hat brands ordering cap files.
Still have a question?
Send us your cap logo and tell us the cap style. We'll reply with a quote and answers.
Ask Us Anything01What is cap digitizing and how is it different from logo digitizing?
Cap digitizing builds the file for a curved front panel, accounting for crown curve, structured backing and limited vertical space, none of which flat logo digitizing accounts for.
02How much does cap digitizing cost?
Cap digitizing costs $15 for a standard cap or hat front logo and $20 for a detailed one. 3D puff cap logos start at $20. Your price is confirmed before work starts.
03How long does cap digitizing take?
Standard delivery is within 24 hours of an approved quote. Same-day rush is available on request.
04Can I use my existing shirt logo file for a cap?
Not reliably. A shirt file isn't built for the curve of a cap front panel and can pucker or distort once stitched.
05Do you digitize for 3D puff embroidery?
Yes, with its own underlay, density and capping approach to fully encase the foam insert.
06Do you serve embroidery shops and brands in California?
Yes, across Los Angeles, San Diego, San Francisco, San Jose, Sacramento, Orange County and elsewhere in the state, plus the rest of the USA.
Get Your Cap Digitized
Send your logo and we’ll tell you exactly what it takes to make it sew clean on a cap: stitch count, placement and price, before you commit to anything.
Free quoteDelivered within 24 hoursFree edits until it sews right